
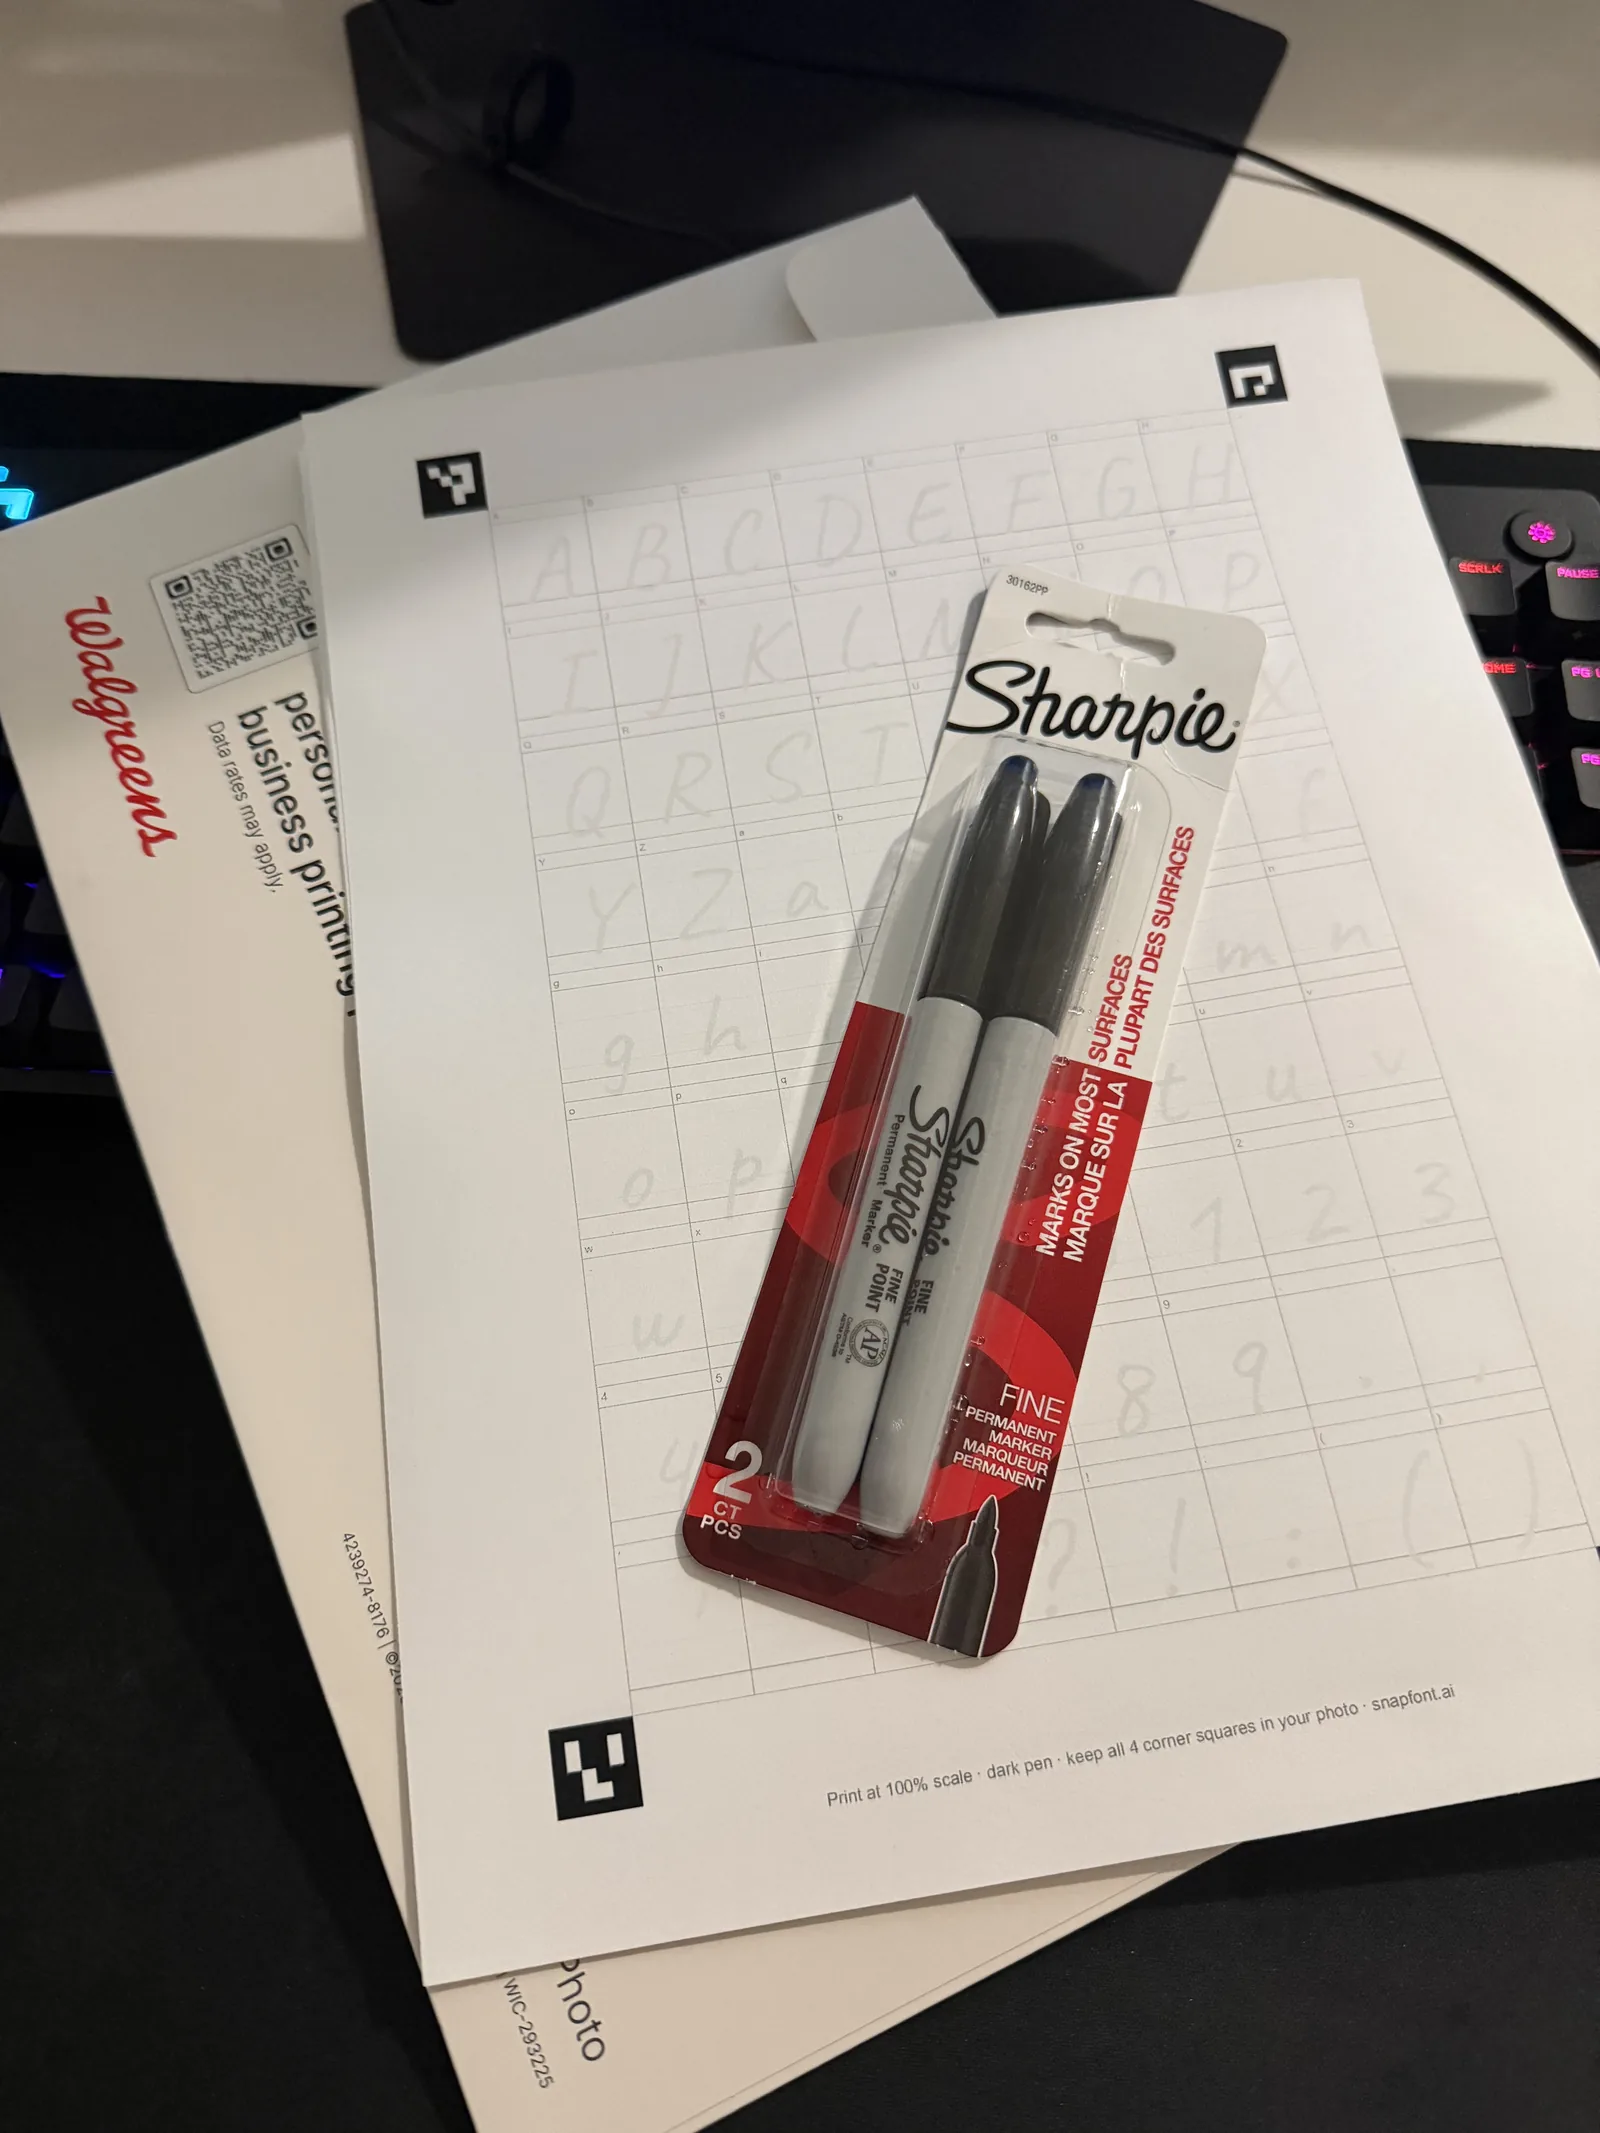
The short version
- Print the free one page sheet. It has 72 boxes with a faint letter in each one to write over.
- Use a dark, medium tip pen. Faint ink is the number one reason a letter comes out broken.
- Take one photo in daylight with the page flat and all four corners in the frame.
- A few minutes later your handwriting types your name back to you. On iPhone, one more tap installs it.
What you need
- A phone with the SnapFont app (iPhone today, Android soon).
- One printed copy of the sheet. Any printer, or a photo counter.
- A dark pen. More on that below, because it matters more than anything else.
- About 20 minutes and a flat table by a window.
That is the whole list. No scanner, no computer, no account until the font already exists.
Step 1: Print the sheet
The sheet is a single page, and you can grab it straight from the app on the Home screen or download the PDF here. Print it at 100 percent, not "fit to page," so the four corner marks stay where the app expects them. Letter and A4 both work.
I print mine at a pharmacy photo counter for a few cents, and it comes out on decent white paper. A library printer or a copy shop works the same way. You don't need anything special, just a clean sheet.
Step 2: Pick the pen
If you take one thing from this post, take this: use a dark pen with a medium tip. The app tells your ink apart from the paper by how dark it is, so light ink, pencil, and very thin ballpoint lines are the things that cause broken letters. A fine point Sharpie, a gel pen, or a felt tip all work well. Blue is fine, black is safest.
Write the way you normally write. Don't press harder or slow down to make it "neat," because then the font won't look like you. The whole point is that it looks like you.
Step 3: Write the 72 letters
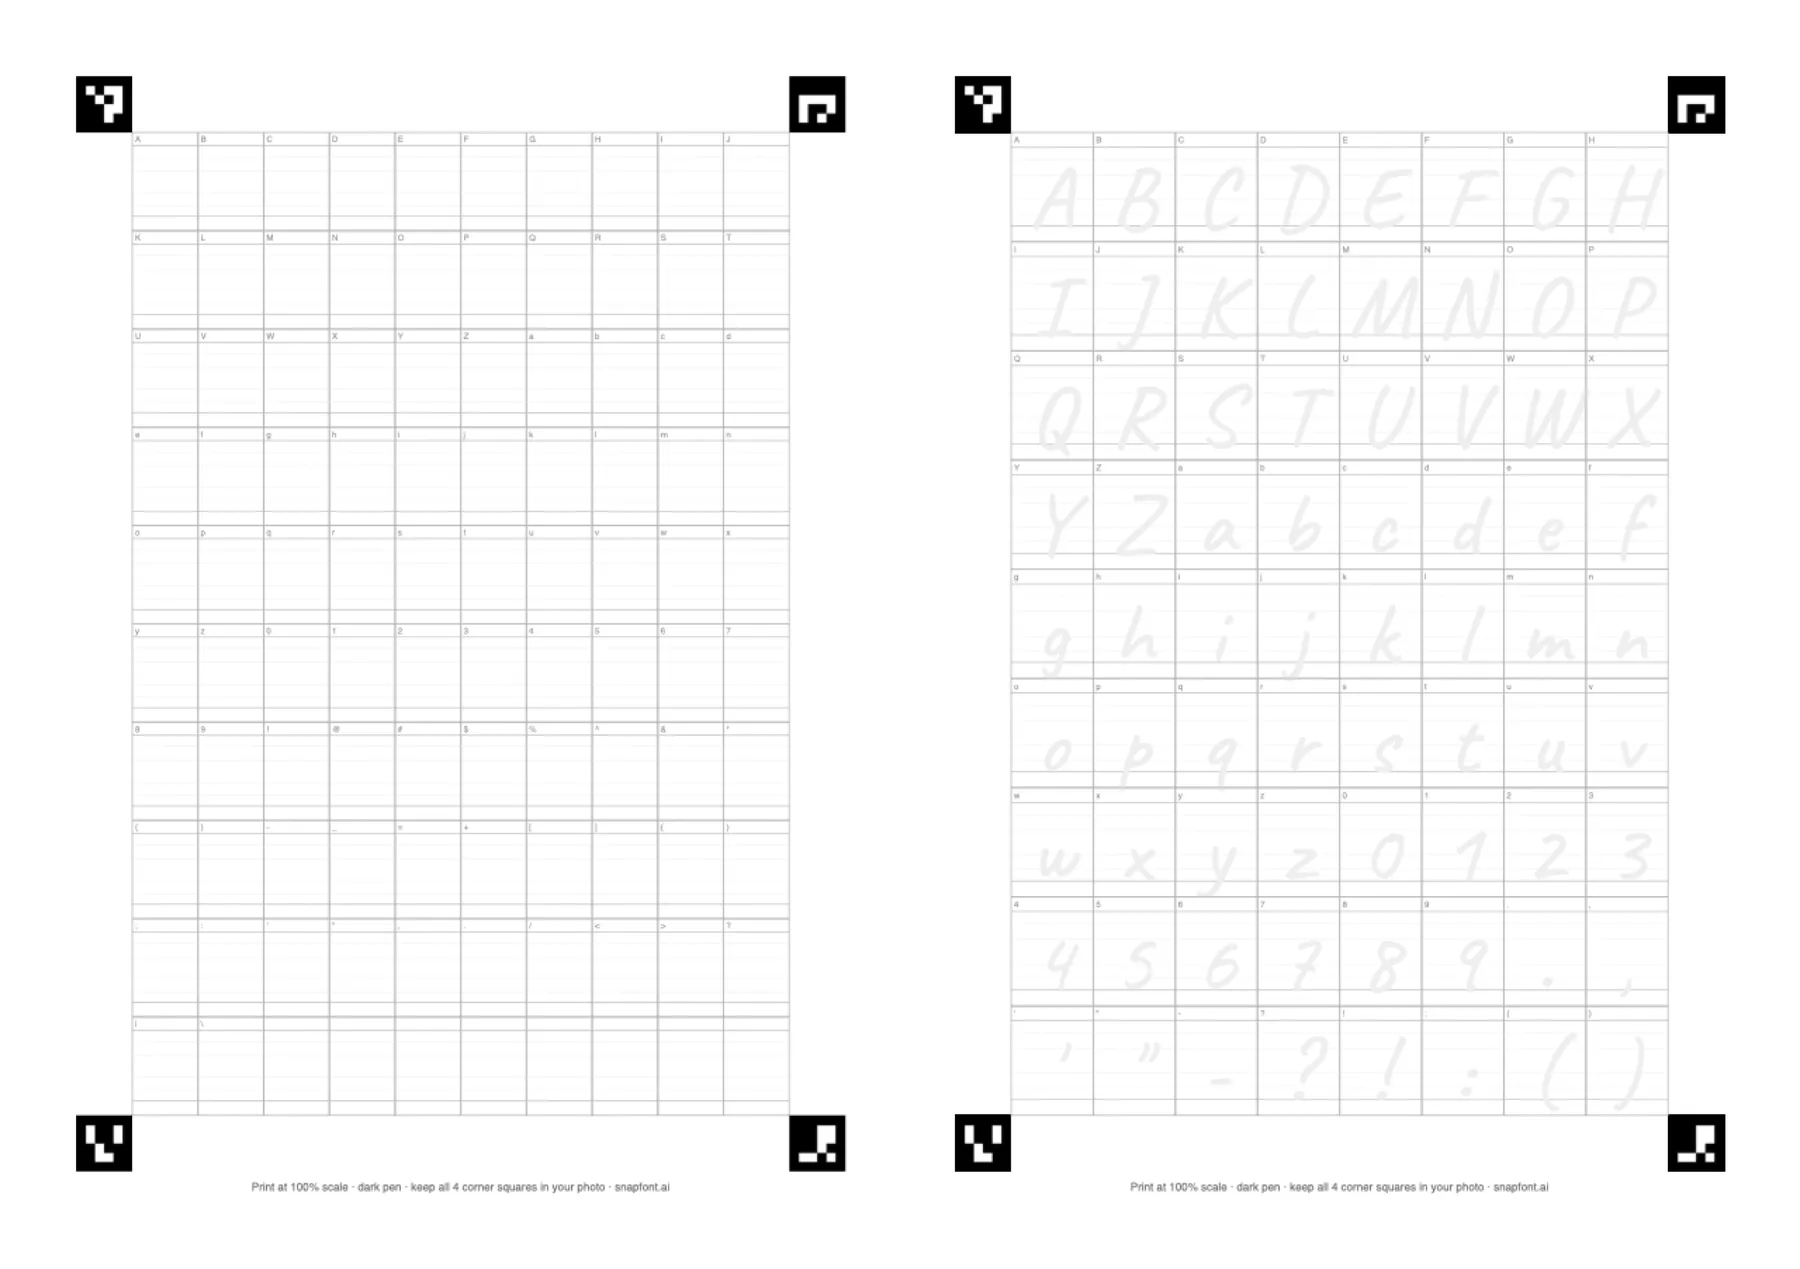
Each box shows a faint grey letter. Write your version over it, roughly the same size, sitting on the same line. The faint letter is there so you never have to guess how big to write or where to put it, the same way the tracing sheets in first grade worked. It is printed light enough that the camera ignores it and only sees your ink.
The 72 are every capital, every lowercase letter, the ten digits, and the ten punctuation marks that actually break a sentence when they are missing. Some marks get built from the ones you wrote, so a semicolon is your comma under your period and you never have to draw one.
Take your time here. This is the part that is your handwriting, and it is about 15 minutes of quiet. If you botch a letter, cross it out lightly and print a fresh sheet, or fix the single letter later on the Pro plan.
Step 4: Take the photo
Put the sheet flat on a table near a window, in daylight if you can. Hold the phone straight above it, keep your own shadow off the paper, and make sure all four corner marks are inside the frame. The app shows a guide and takes the shot for you once the page is lined up, so you mostly just hold still.
A slight tilt is fine because the app straightens the page from the corner marks. What is not fine is a shadow across half the sheet, a curled page, or a lamp glare on the ink. If the photo looks bad to you it will look bad to the app too, so just take it again. That part costs nothing.
Step 5: Watch it type
Now the app reads the page. Every letter lands on the screen one at a time as it gets cut out, and then the font itself appears typing your name in your own hand. The first time I saw mine it was 2:24 in the morning and I had been fighting a bug for hours. I have written my name the same way since I was a kid and I had never watched it type itself back. It is a strange, good feeling.
After the reveal you get a review grid of all 72 letters. Anything that looks off is flagged so you can decide whether to redo it. Most sheets need nothing.
Step 6: Install it
On iPhone, tap Install and the app builds a font profile for you. Save it to Files, open it, and iOS walks you through Settings to install it. Then the font shows up in Pages, Keynote, Word, and any other app that lets you choose fonts. The full walkthrough, including which apps will and won't see it, is in how to install a custom font on iPhone without a computer.
On Android, tap Export and share the TTF file into whatever app you want to use it in, or send it to your computer. Android doesn't allow installing fonts system-wide, so the export is how you use it.
The things that go wrong, and why
I have looked at a lot of sheets by now, mine and other people's, and the failures come down to the same few causes.
- Light ink. A thin, pale ballpoint gives the app very little to work with, and letters come back with gaps. The sheet my own font came from was written with a Sharpie, and that is still what I reach for.
- Writing tiny. If your letters fill a quarter of the box, the camera is working from a quarter of the detail. Use the faint letter as the size guide.
- Ceiling lights at night. Your phone and your head both cast shadows onto the page. Daylight from the side beats any lamp.
- Making it neat.Slow, careful writing comes out looking like someone else's. Write at your normal speed, the way you would sign something.